 Save
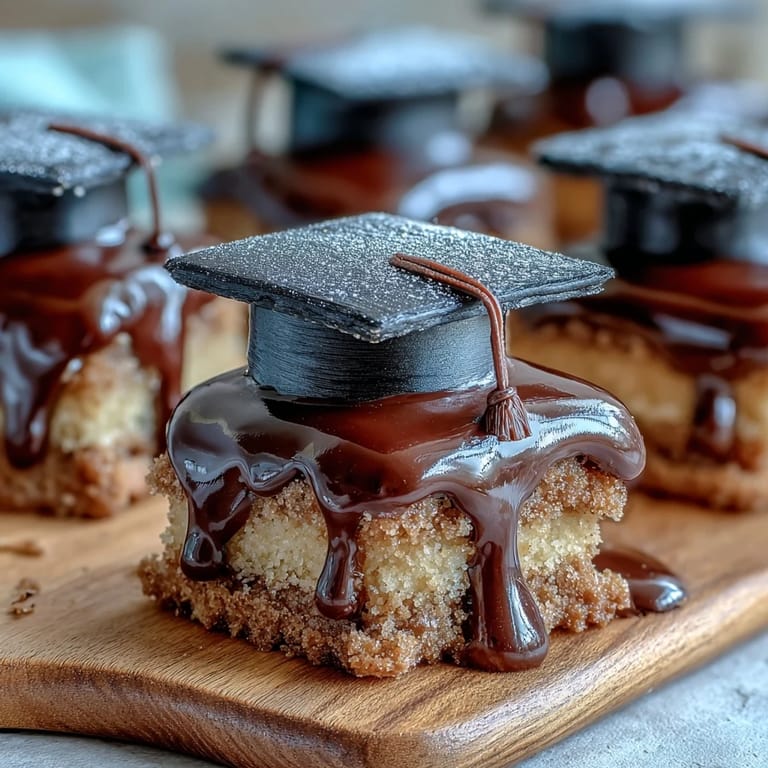
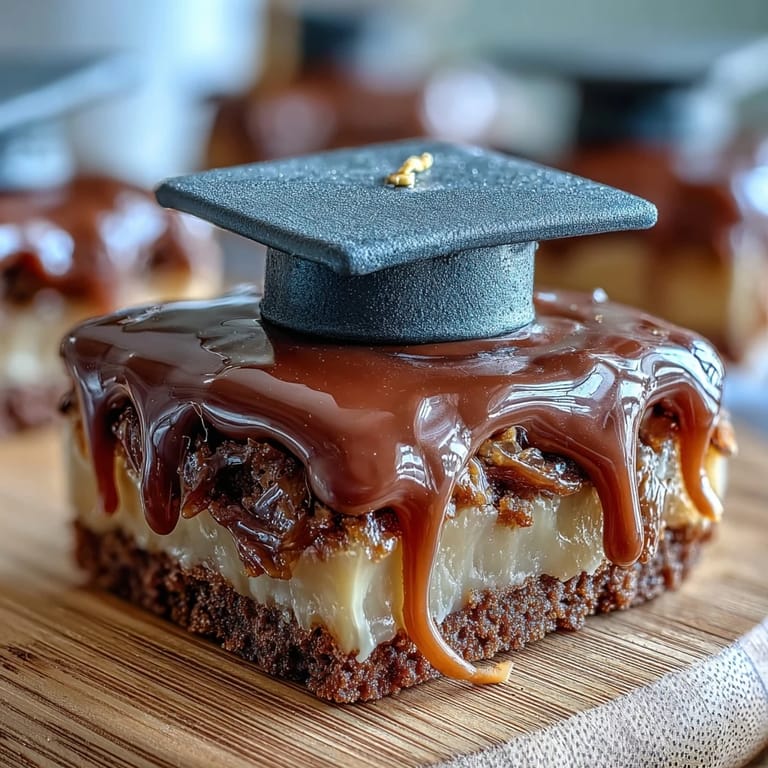
Save My niece's graduation day arrived with that electric buzz that only milestone moments carry, and I found myself in the kitchen at dawn, determined to create something that tasted like celebration. These sugar cookies with fondant mortarboards came together almost by accident—I was searching for a dessert that felt special enough for photos yet simple enough that I wouldn't stress myself out before the party. The black fondant hats sitting atop golden cookies looked almost too good to eat, and watching her face light up when she saw them made every sticky finger moment completely worth it.
I still laugh remembering my attempt to explain fondant work to my college roommate who showed up to help—she kept asking why we weren't just using icing for everything, then understood completely when she tasted the contrast between the crispy cookie, soft fondant, and sweet glaze. That afternoon became less about decoration and more about two adults giggling over tiny hat-making, which honestly is my favorite kind of kitchen memory.
Ingredients
- All-purpose flour: The foundation of your cookie, and measuring by weight gives you the most reliable results if you have a scale handy.
- Baking powder: Just enough to give the cookies a tender crumb without puffing them up like little clouds.
- Unsalted butter: Use it softened so it creams properly—cold butter will fight you the entire way.
- Granulated sugar: Creates that light, tender texture when beaten with the butter; don't skip the creaming step.
- Egg and vanilla extract: These bind everything together and add richness that makes people ask for your recipe.
- Black fondant: The star of the show; find it at baking supply stores or online, and it's surprisingly easy to work with once you get the hang of it.
- Yellow fondant: A small amount brings life to those little tassels hanging from the mortarboards.
- Cornstarch: Your best friend when rolling fondant; it prevents sticking without adding flour that would toughen things up.
- Powdered sugar icing: The glue that holds your edible architecture together, so make sure it's smooth and spreadable.
Tired of Takeout? 🥡
Get 10 meals you can make faster than delivery arrives. Seriously.
One email. No spam. Unsubscribe anytime.
Instructions
- Set yourself up for success:
- Preheat your oven to 350°F and line those baking sheets with parchment paper before you even touch the ingredients. This small act of preparation means you're not scrambling when the dough is ready to bake.
- Combine your dry ingredients:
- Whisk flour, baking powder, and salt together in a medium bowl so everything is evenly distributed. This prevents little pockets of baking powder that taste bitter and metallic.
- Cream butter and sugar into fluffy clouds:
- Beat them together for a full 2 to 3 minutes until the mixture looks pale and airy, almost like mousse. You're not just mixing; you're incorporating air that makes cookies tender.
- Bring the wet ingredients together:
- Add your egg and vanilla to the butter mixture and beat until it looks completely combined with no yellow streaks of butter visible. This step ensures even distribution of flavor throughout every cookie.
- Marry wet and dry without overworking:
- Gently fold the dry ingredients into the wet mixture just until no flour streaks remain; resist the urge to keep mixing because overmixing develops gluten and makes cookies tough. Stop as soon as you can't see any white flour.
- Roll and cut your cookie shapes:
- Work on a lightly floured surface and roll dough to about 1/4-inch thickness, then cut your rounds or squares. If the dough gets warm and sticky, pop it in the fridge for 10 minutes.
- Bake until just kissed with gold:
- Place cookies on your prepared sheets and bake for 10 to 12 minutes until the edges show the slightest hint of golden color. They'll continue cooking on the hot pan after you remove them, so don't overbake.
- Let cookies cool completely:
- Transfer to a wire rack and give them time to set before decorating; warm cookies won't hold fondant decorations properly. This is the perfect time to make your fondant pieces.
- Craft your fondant mortarboards:
- Roll black fondant to 1/8-inch thickness and cut 24 small squares for the hat tops, then roll 24 tiny cylinders for the bases. Dust your surface with cornstarch instead of flour so the fondant doesn't absorb moisture and become sticky.
- Create yellow fondant tassels:
- Roll thin ropes of yellow fondant and cut into 1-inch pieces, shaping them however you like. These tiny details make the whole decoration come alive.
- Mix your decorating icing:
- Whisk powdered sugar, milk, and vanilla until you have smooth, spreadable icing that's thick enough to hold decorations but soft enough to pipe or spread. Add milk a little at a time so you don't end up with soup.
- Assemble your graduation cookies:
- Dab icing on the center of each cooled cookie, place a fondant square on top, slip a fondant cylinder underneath as the base, and use another tiny dab of icing to attach the yellow tassel to one corner. Work with a few cookies at a time so the icing stays pliable.
- Let everything set:
- Give the decorated cookies 20 to 30 minutes for the icing to firm up and the fondant to sit securely. This prevents fondant hats sliding around or tassels drooping when you pack them up.
 Save
Save What I didn't expect was how these cookies became the centerpiece of so many conversations at the party—guests were taking photos, asking questions about how I made them, and actually hesitating to eat something that looked this polished. That's when I realized that food really is about more than nourishment; it's about showing people you spent time thinking about making their moment special.
Customizing for Your Graduate's Colors
The beauty of fondant is that it bends to your will without complaint—color it with gel food coloring to match your graduate's school colors, and suddenly these cookies feel personally theirs. I've made purple and gold for one celebration, navy and white for another, and even bold colors that matched a grad's favorite sports team. The black mortarboards are traditional, but you could tint the fondant to any color that speaks to the occasion, and honestly, the customization is half the fun because it transforms generic cookies into something that feels made specifically for them.
Storage and Make-Ahead Strategies
The greatest gift this recipe gives you is flexibility—bake the cookies up to three days ahead and store them in an airtight container, then decorate them the morning of your event when you have mental energy for the detail work. I've learned the hard way that trying to make 24 tiny fondant hats while also managing a dozen other party tasks is a recipe for frustration, so I now always separate the baking and decorating into different days. Your future self will thank you for this strategic planning.
Shortcuts and Modifications That Actually Work
If time is working against you, store-bought sugar cookie dough cuts your active kitchen time in half, and pre-colored fondant from specialty baking shops saves you from having to tint everything by hand. I've also decorated these with simple royal icing caps instead of fondant on mornings when I was running behind, and they looked equally celebratory. You don't need to make everything from scratch to make it meaningful.
- Use a small round piping tip to make fondant tassels perfectly uniform if precision makes you happy.
- Keep a damp paper towel nearby while decorating so your hands stay clean and fondant doesn't get smudgy.
- If fondant cracks when you're rolling it, knead it for a few seconds to warm it up and make it more pliable.
 Save
Save Every time I make these cookies now, I think about that graduation day and how something as simple as butter, sugar, and flour became a memory marker. These cookies are meant to celebrate people you love, so enjoy the process and don't stress the tiny imperfections—they're what make them real.
Recipe FAQs
- → What is the best way to roll cookie dough for even thickness?
Use a rolling pin to roll the dough on a lightly floured surface to about 1/4-inch thickness, ensuring an even bake.
- → How do I prevent fondant from sticking while shaping?
Dust your work surface and cutters lightly with cornstarch to avoid fondant sticking and tearing during shaping.
- → Can I prepare the decorated cookies in advance?
Yes, decorate the cookies and allow the icing and fondant to set completely. Store them in an airtight container for up to 5 days.
- → What alternatives exist for those with gluten or dairy allergies?
Substitute with gluten-free flour blends, dairy-free butter options, and egg replacers as needed. Check fondant ingredients carefully for allergens.
- → How to achieve vibrant fondant colors matching school themes?
Mix food coloring into fondant during kneading to create custom colors for tassels and mortarboards that reflect school spirit.